How to Measure Blood Pressure at Home Accurately: A Step-by-Step Guide
Posture, rest, cuff size and timing change a home blood pressure reading by enough to alter how it is classified. Here is the measurement routine the American Heart Association describes, and the mistakes that most often distort a result.
Why technique changes the number
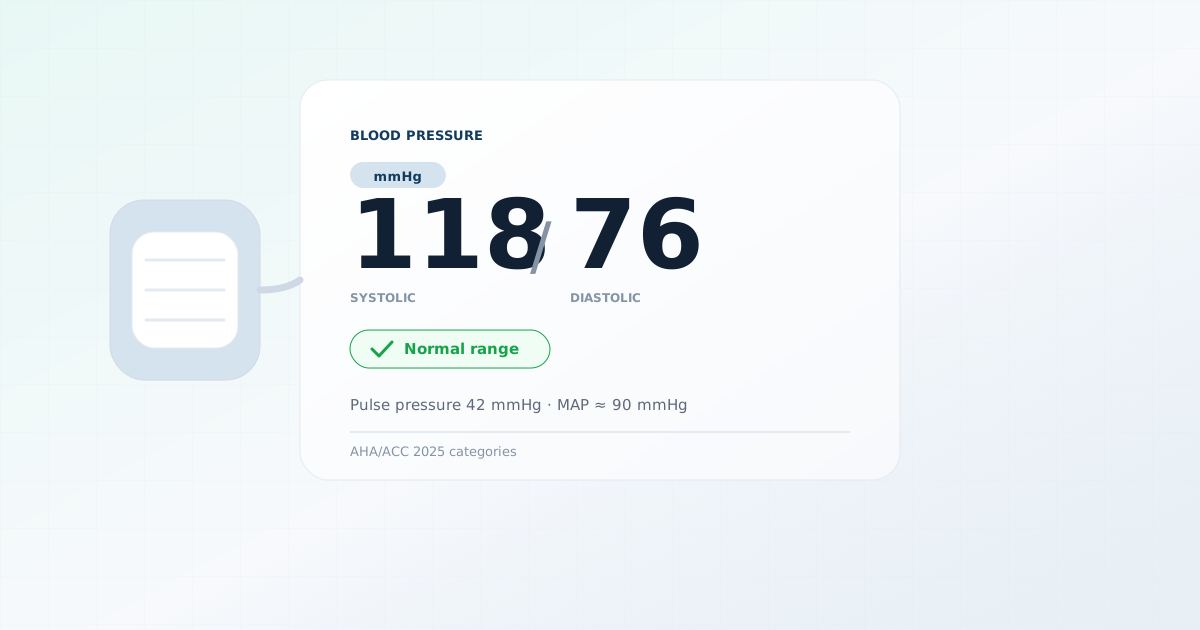
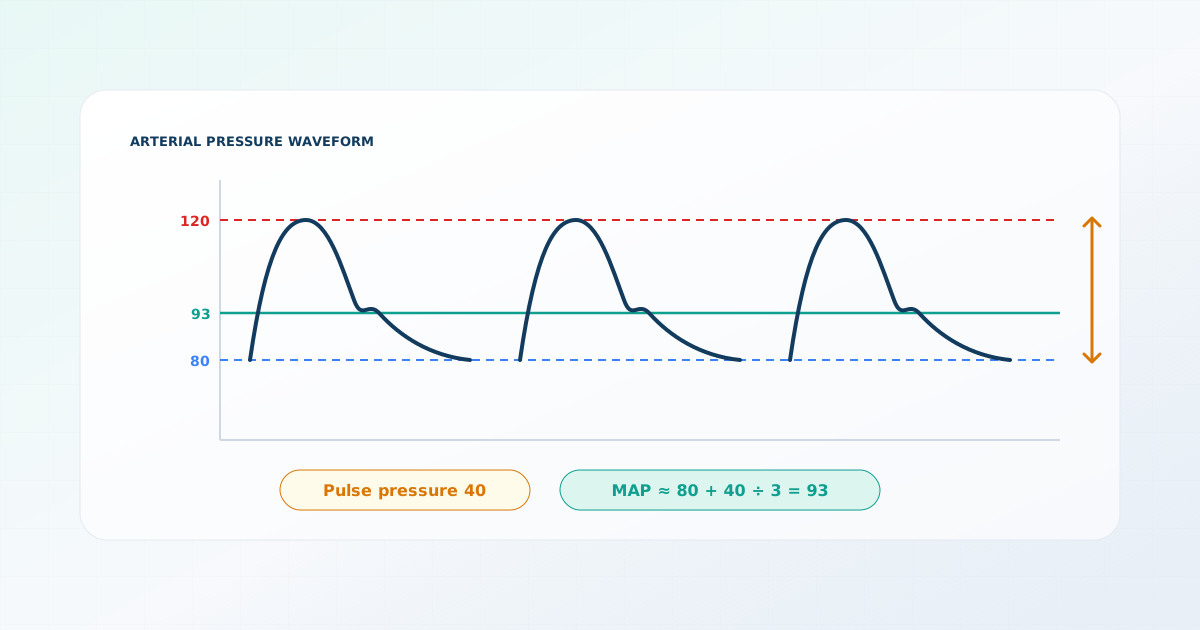
Blood pressure is the force of blood against the walls of the arteries, and the National Heart, Lung, and Blood Institute describes it with two numbers. Systolic pressure, the top number, is the pressure when the heart beats. Diastolic pressure, the bottom number, is the pressure when the heart rests between beats. Both are measured in millimeters of mercury, written mmHg.
Neither number is a fixed property of a person. Pressure moves from minute to minute with posture, talking, a full bladder, caffeine, nicotine, cold, pain and stress. That is not a flaw in the measurement. It is what blood pressure does, and it is why guidelines specify a measurement routine: a reading taken under standard conditions can be compared with one taken another day and with the thresholds that guidelines set.
Home measurement has become more common because a single reading in a clinic is only a snapshot, and some people’s pressure rises in a medical setting. A set of readings taken calmly at home gives a clinician more to work with. That value depends entirely on the readings being taken properly.
Home monitoring suits some people better than others. It is commonly used by people who have been diagnosed with high blood pressure and want to see how it behaves day to day, by people whose clinic readings differ from what is expected, and by people whose clinician has asked for a log. It is not a substitute for regular check-ups, and a normal home reading does not mean other measurements can be skipped.
Before you measure
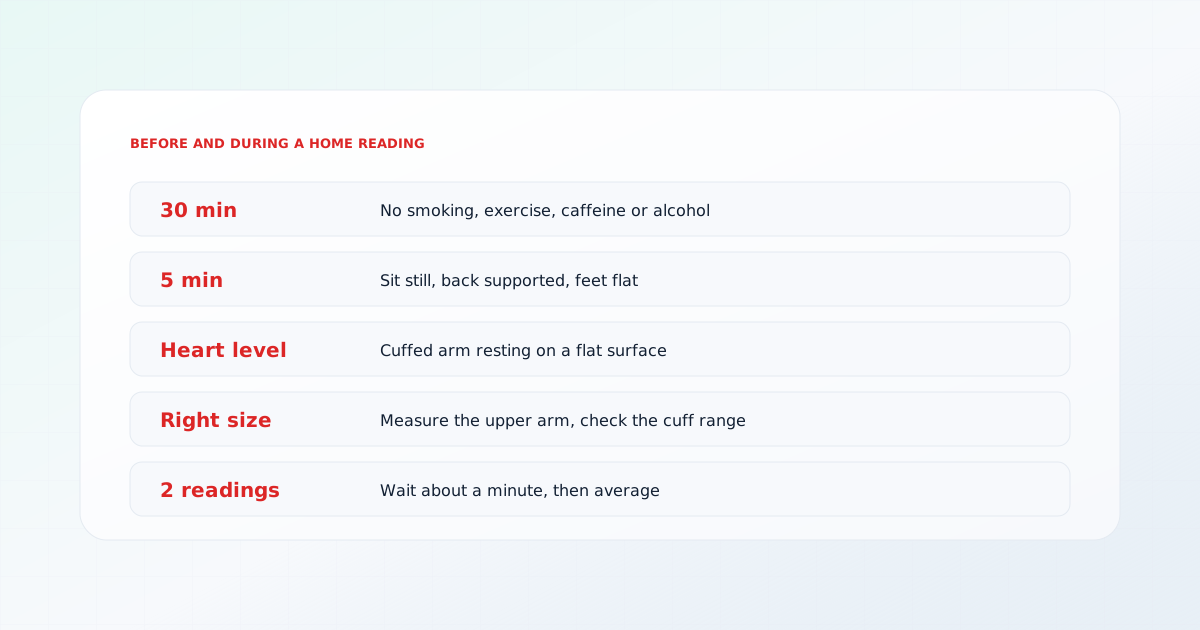
Most of the avoidable error in home readings happens in the minutes before the cuff goes on. The American Heart Association’s guidance gives a short list of things to do and to avoid.
- Do not smoke, exercise, or drink caffeinated beverages or alcohol in the 30 minutes before you measure.
- Sit still in a chair for five minutes first, without talking or moving about.
- Consider emptying your bladder beforehand, since a full bladder can raise a reading slightly.
- Use the same arm each time and, where you can, measure at the same times of day so readings are comparable.
The five-minute rest is not optional
Position the body and the cuff
Posture is where many home readings go wrong. A reading taken with the legs crossed, the back unsupported or the arm hanging below the heart will differ from one taken correctly, and not in a way you can predict.
- Sit upright in a chair with your back supported and your feet flat on the floor, legs uncrossed.
- Rest the cuffed arm on a flat surface such as a table, so the cuff sits at the level of your heart.
- Wrap the cuff on bare skin, not over clothing, just above the bend of the elbow, following the instructions that came with the monitor.
- Stay relaxed and do not talk while the monitor is measuring.
- Read or record the result once the monitor finishes. Do not squeeze or re-inflate the cuff to check.
The reason for the instruction is that arm position changes the reading, which is why the guidance specifies heart level. A table or armrest makes it easy to get right.
Choosing the right cuff size
Cuff size is an easily overlooked source of error. The American Heart Association’s guidance advises making sure the cuff is the right size, and a cuff of the wrong size gives an inaccurate reading. Monitors come with a stated range of arm circumferences they are designed for.
- Measure the circumference of your upper arm, halfway between shoulder and elbow, with a flexible tape.
- Check that measurement against the size range printed on the monitor or its packaging.
- If you are between sizes, or outside the standard range, look for a monitor that comes with a larger or smaller cuff.
- Replace a cuff that is worn, leaking or no longer closes firmly, as that changes the reading.
It is also reasonable to have your monitor checked against a clinic device. The American Heart Association’s guidance suggests having a health care provider check your monitor once a year, and bringing it to an appointment lets them compare its readings with their own equipment.
Taking, repeating and recording readings
A single reading is a weak basis for any conclusion, because the pressure varies from beat to beat and minute to minute. Taking more than one reduces the effect of chance.
- Take the first reading, then wait about a minute and take a second.
- Average the readings. If they differ by a large amount, a third reading can help.
- Write down the date, time, both numbers and which arm you used, plus anything unusual such as pain, a poor night’s sleep or a recent meal.
- Keep the log together and bring it to appointments, since a clinician will usually want to see a run of readings and not an isolated value.
Common mistakes that distort a reading
- Measuring straight after coming indoors, climbing stairs or finishing a phone call, without resting first.
- Sitting with the legs crossed, on a sofa without back support, or with the arm unsupported.
- Taking a reading over clothing, when the cuff belongs on bare skin.
- Talking, laughing or checking a phone during the measurement.
- Using a cuff of the wrong size, or a worn one.
- Treating one unusually high or low result as meaningful without a pattern behind it.
What to do with your readings
Guidelines in different countries draw their categories in different places. The 2025 AHA/ACC guideline in the United States sets a treatment target of below 130/80 mmHg, and the 2024 European Society of Cardiology guideline describes a category below 120/70 mmHg as non-elevated. Guidelines also treat home readings and clinic readings separately, so the numbers on this page are not thresholds to apply by yourself.
The sensible use of a home log is to share it. A clinician can compare it with office readings, decide whether it points toward a problem, and consider your other risk factors. If readings are consistently higher than you expected, that is worth raising at your next appointment and not a reason for alarm or for changing a medicine on your own.
Bringing the monitor itself to an appointment is also worthwhile, since a clinician can take a reading alongside your device and see how closely the two agree, which tells you how much weight to put on your own log.
Very high readings with symptoms need prompt care
Frequently asked questions
Sources
This page is based on the following sources. Each was reviewed on the access date shown.
- Understanding Blood Pressure Readings(opens in a new tab)
American Heart Association
Professional societyAccessed September 27, 2026
- High Blood Pressure(opens in a new tab)
National Heart, Lung, and Blood Institute (NIH)
Government health agencyAccessed September 27, 2026
- 2025 AHA/ACC Guideline for the Prevention, Detection, Evaluation and Management of High Blood Pressure in Adults(opens in a new tab)
Circulation (American Heart Association)
Clinical guidelinePublished August 14, 2025Accessed October 1, 2026DOI 10.1161/CIR.0000000000001356
- 2024 ESC Guidelines for the management of elevated blood pressure and hypertension(opens in a new tab)
European Heart Journal (European Society of Cardiology)
Clinical guidelinePublished October 7, 2024Accessed September 27, 2026DOI 10.1093/eurheartj/ehae178